

Hey guys! Oh how I’ve missed you!! 😀
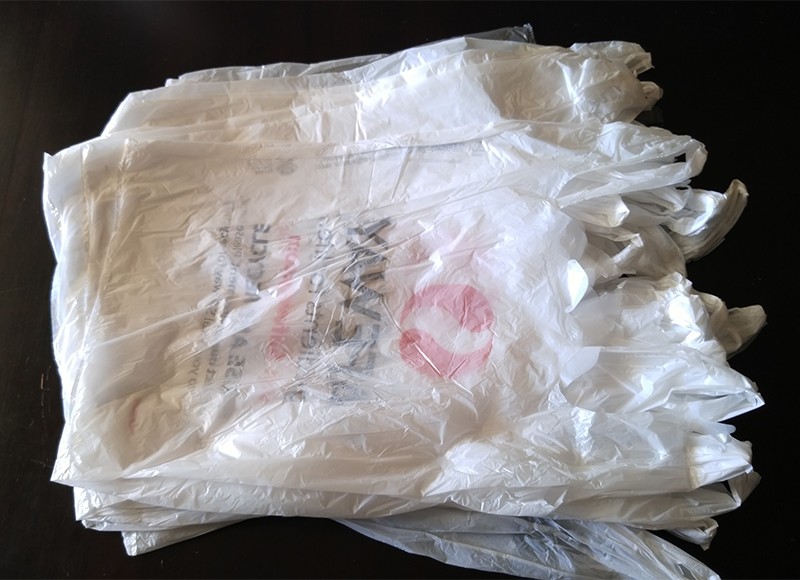
I decided that (being that I had like 1,343 )plastic bags exploding out of my kitchen drawer, that it was time for a plastic bag project!
I have done the whole Plarn thing before, so was looking around for something a little different to do this time around. (By the way, if you haven’t made things with Plarn… it’s fun, you should!)
Some of you may remember that a few months ago my family started cash budgeting. I am happy to say that it’s still going great overall! I had been getting the paper cash envelopes that the bank gives you, and that was working okay for a while.. (until you try to shove more change than you’re supposed to in it and it busts out of there like confetti at a surprise party). I decided to stop being ultra OCD about keeping every cent separate and I just started keeping all the change together anyway, and that helps. But I was definitely wanting something more durable than those paper envelopes.
I went to Pinterest to search around for cash envelopes and somehow something just popped up about fused plastic. I hadn’t seen any cash envelopes made out of them so I decided that was what I was going to do!
Now, these are SUPER simple. Handy for whatever really! So far they are working really well and are really durable!
Fused Plastic Cash Envelopes
Here’s what you’ll need for the project!
- Plastic bags! (The same kind/thickness if you can)
- Scissors
- Iron
- 1 or 2 towels
- Hard flat surface to work on
- Parchment paper (2 pieces) need to be longer than your plastic bags
- 1 piece of parchment paper the size that you want your pocket to be (7 inches x 3 1/4 inches)
NOTE:Make sure the area you are working in is ventilated, as the melting of plastic bags does produce a slight smell.
Alright! Let’s get started reusing some plastic bags!
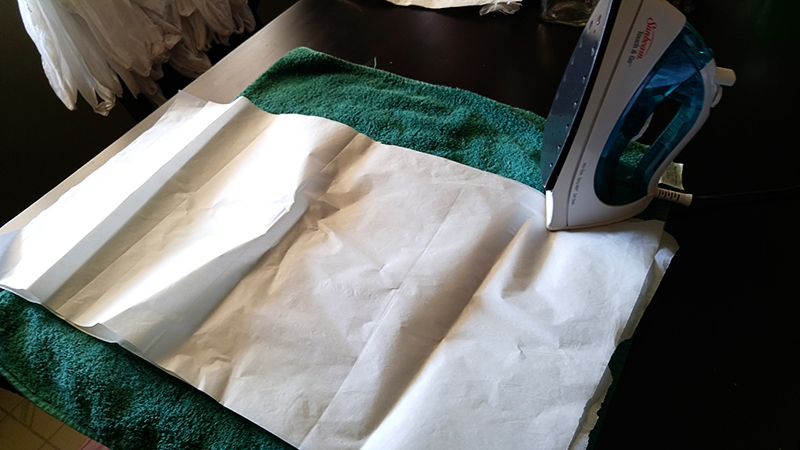
First layout your towels on your work area (I chose my dining room table). Also, you need a plug in nearby to work with your iron! Now being that we ALL have different irons with different settings, it will be a little tricky finding out what works best for you with your plastic fusing. If your iron is too hot the plastic will end up shrinking a bunch (which you don’t really want) and eventually will produce holes in your plastic. Those are signs your iron is too hot. Also you need to make sure you are quick with moving the iron across the bags. This does involve a LOT of flipping over of your bags so that you are evenly heating your plastic surface!
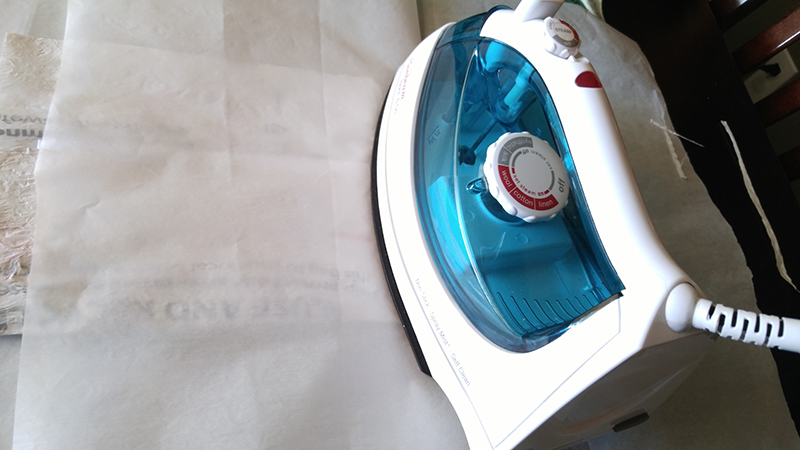
I used a medium setting (as you can see below) on my iron, but keep in mind it will need adjusting if you decide to use more or less bags!

Ok, next we are going to prepare our plastic! I started my grabbing a fist full of bags, and flattening them out.
We are going to be cutting off the bottom seam of each bag, as well as the handles, so that you’re left with a “tube”.
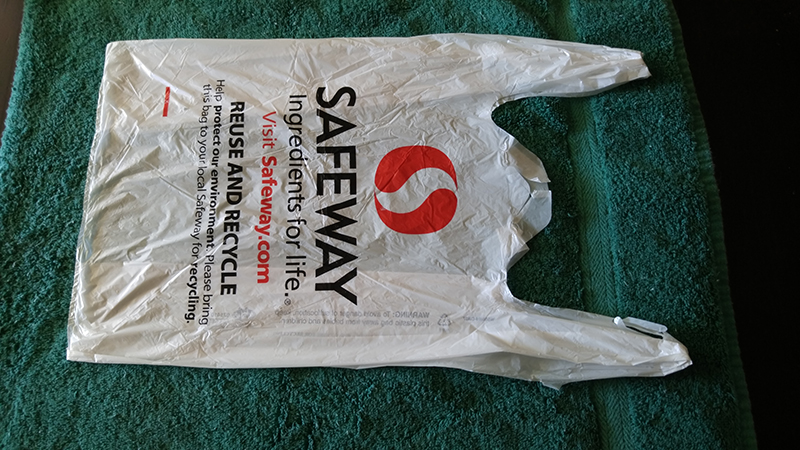
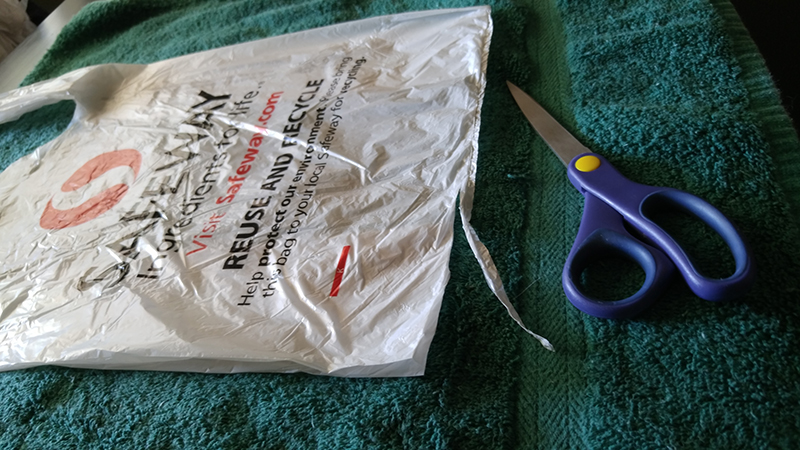
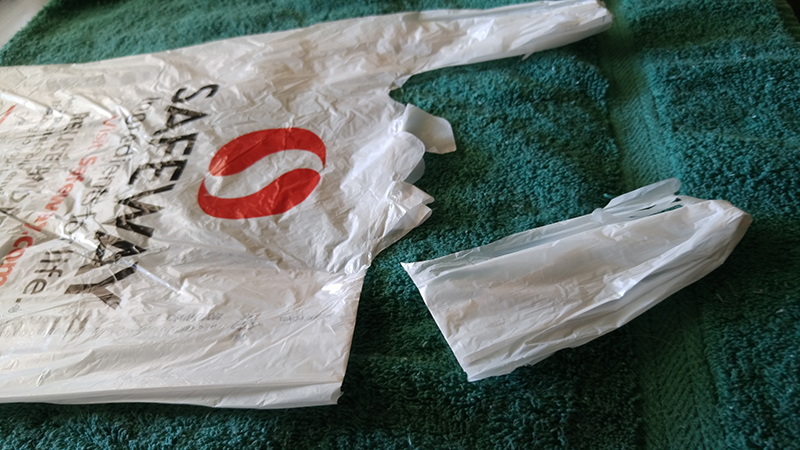
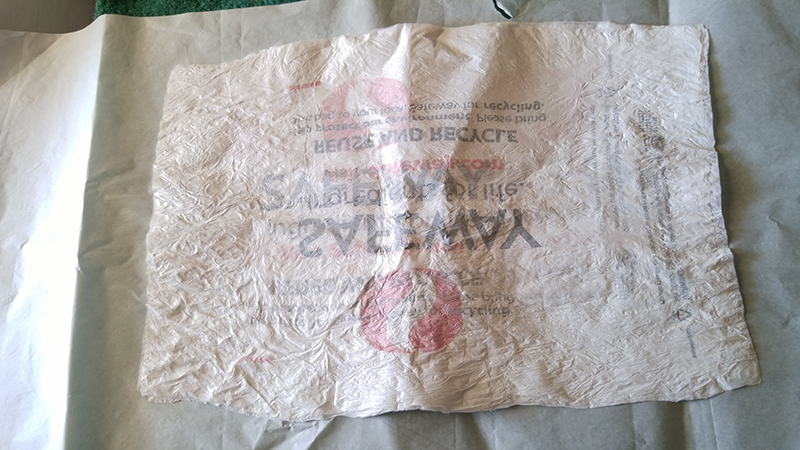
This project works by flattening out your “tubes” and layering them on top of each other. Now as a thickness comparison (if you have a few on hand). You can feel the difference between a Target bag, and a Safeway bag. The Target bags happen to be a bit thicker, so if you’re working with those you will probably need to adjust your iron slightly hotter. For this project we are using Safeway bags, which happen to be pretty thin. I chose to use 4 bags (which you will have a thickness of 8 sheets of plastic to work with).
Also (very important!) make sure you don’t have the bag print facing out when you start using your iron. You can either sandwich the print side to the inside. OR if you would like the logo to show… make sure you use a layer of clear plastic over whatever you’re working with.
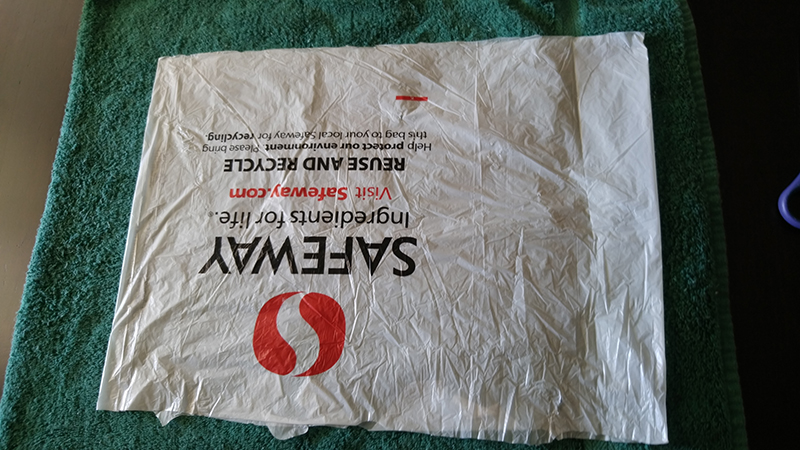
Once you have your plastic bags layered how you like, you’re ready to put your parchment paper underneath and on top (making sure no plastic is sticking out, since you wouldn’t want that melting to your iron!) and you’re ready to go!
(I like to re-position the bags so that the print turns out all over the place… I think it looks cool!)
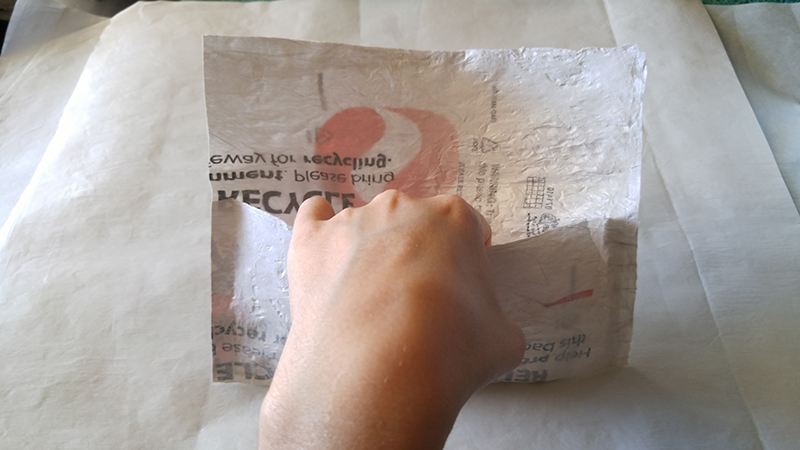
Now, if your iron has been on waiting for you remember to use quick motions as you go over the surface of your plastic (never stopping!). You can always test it on one part of the bag by swiping over the top, or the middle. If you immediately see the bag shrink, you probably have your iron on too high. A little bit of shrinkage will happen (that means it’s fusing correctly) and sometimes you will hear some crinkling (which is normal). Make sure you’ve opened a window to vent your area! (I have done this a time or two withOUT venting and it was fine… but don’t live dangerously like me. Or do. Whateva! )
This part will take some time as you are going over the surface, then flipping and doing the same thing….rinse. repeat. It is good to check on the plastic from time to time to see if it is adhering properly…but be careful as it is hot!
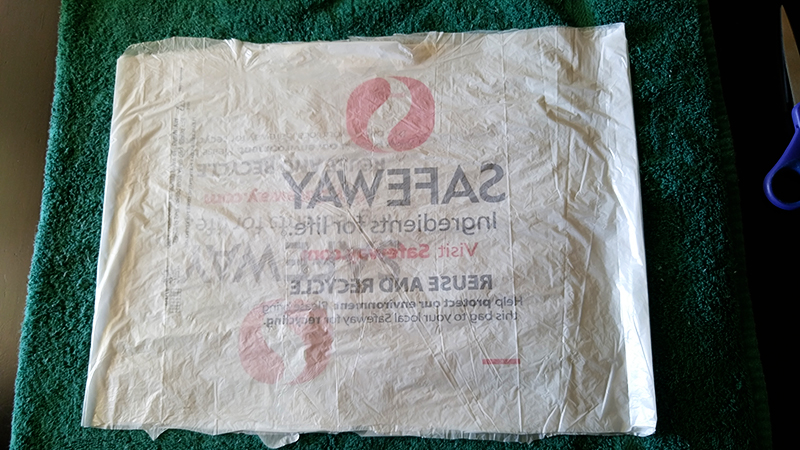
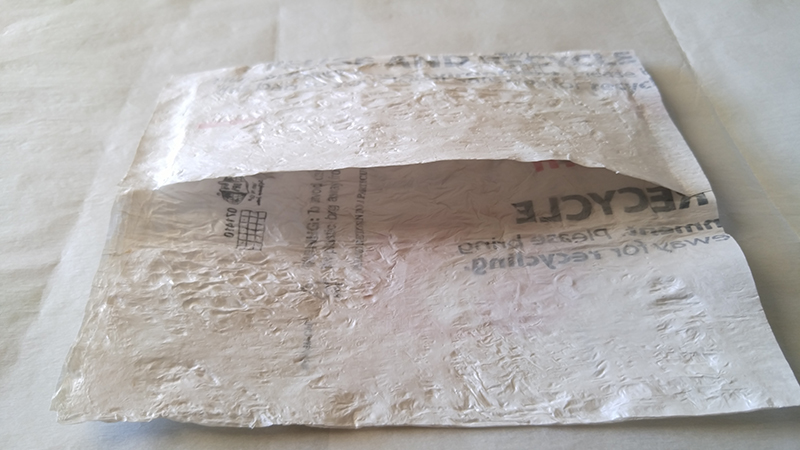
Now, keep in mind it’s not perfect… but I’m not picky. I have been able to get some pieces to come out “smooth” but it’s definitely an advanced method.. and I’m sorta impatient! As long as it’s all fused together, you’re good to go and your “sheet” should look something like this.
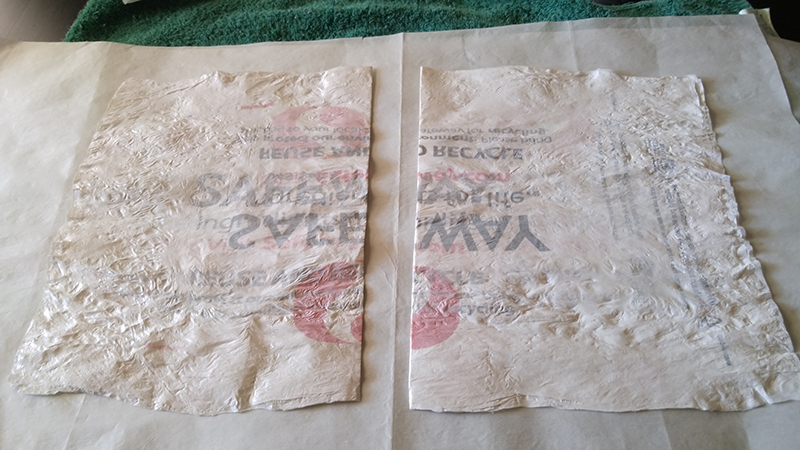
This size of bag will make 2 cash envelopes!
I simply start by creasing the sheet in half and cutting it in 2 pieces. (the edges won’t be perfect but that doesn’t matter for now.)
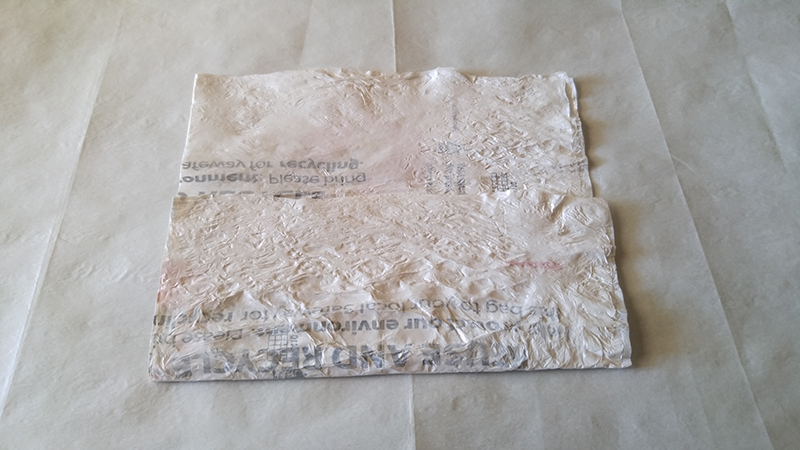
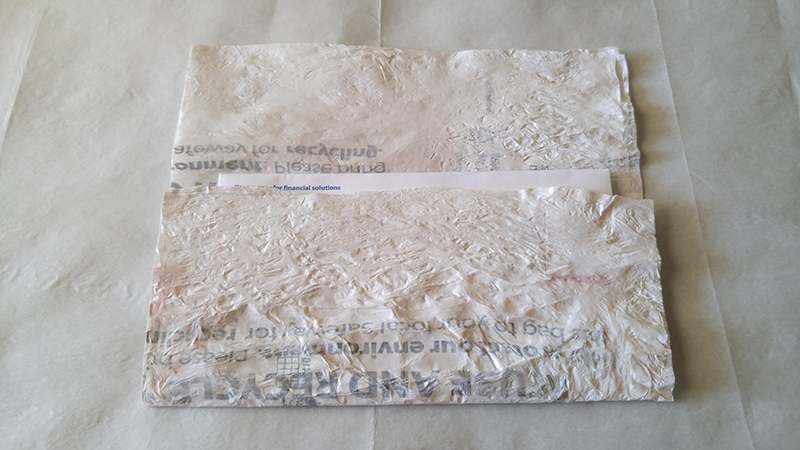
Set aside one piece. Then we’re going to take the other piece and make a simple envelope by making the bottom fold (going up about 3/4 of the way). You do want your top flap to come down and overlap more than half way. (like so)
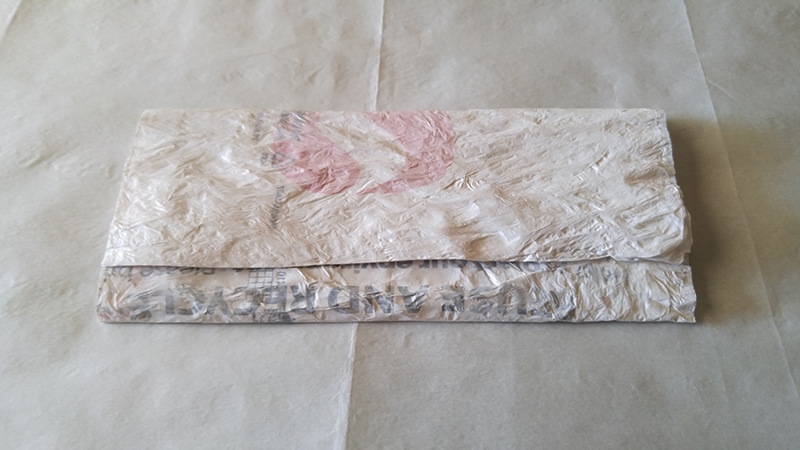
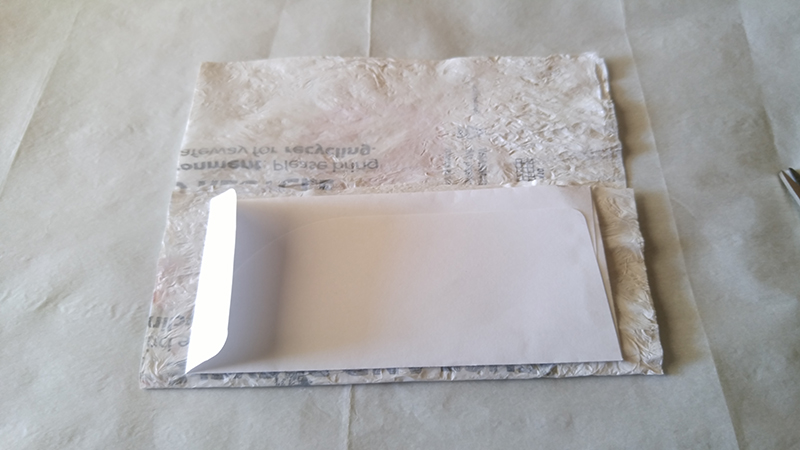
Next you are ready to fuse together the sides of the bag! I made this easy for myself by using one of the cash envelopes the bank gave me, to use as the size of my pocket. You can also cut a sheet of parchment paper the size of the cash envelope (which is 7 inches long x 3 1/4 inches high. I like this size because you have more than enough room for money and it isn’t a “tight fit”.
I positioned my cash envelope (or your parchment paper the same size) in the middle.. and put it inside (this is basically where you don’t want the plastic to be fused together)
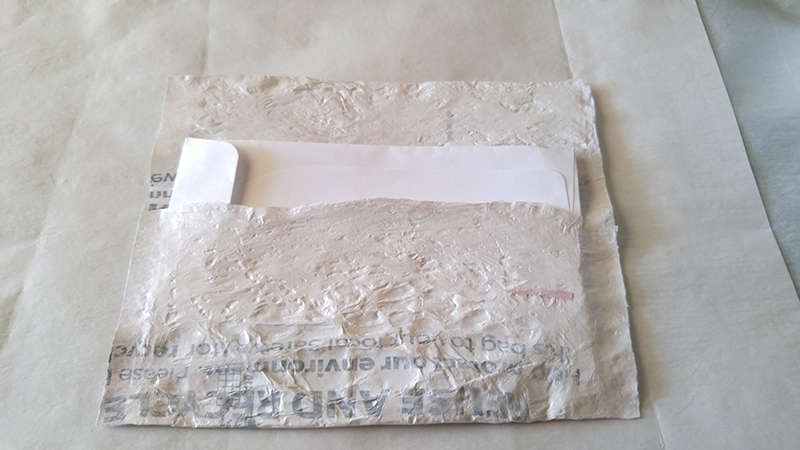
Then you’re going to lay a piece of parchment paper over what will be the side seam and go up and down over that seam. You will need to go over this quite a few times, flipping it over and over again. Let it sit for about 30 seconds then check it to make sure it’s fully fused. You want a good fuse here since it’s the side seam.
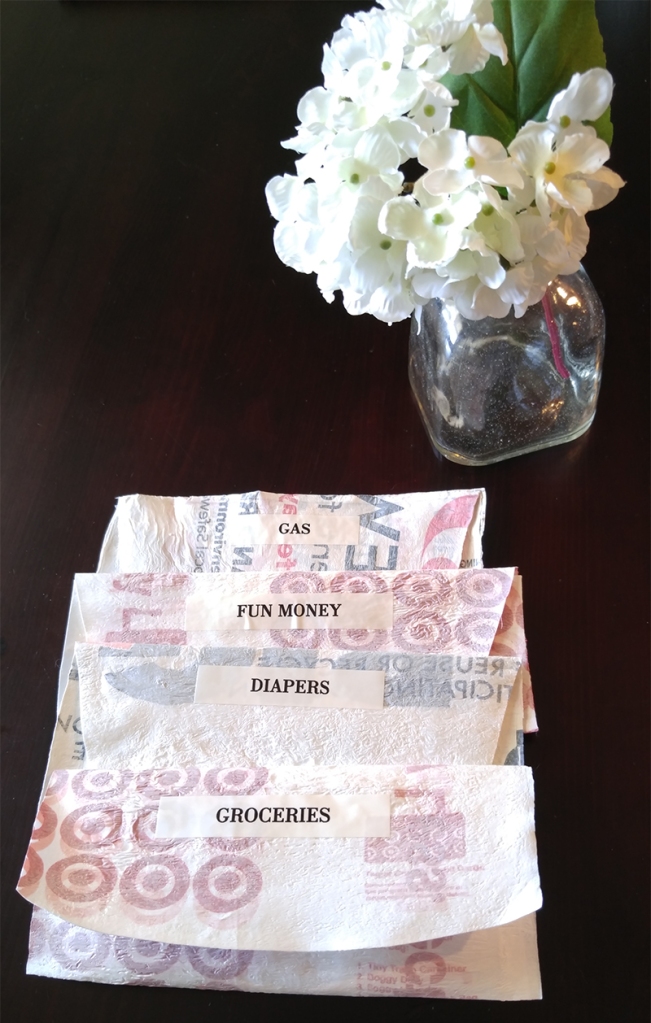
When done, repeat for the other side. And it should look like this!
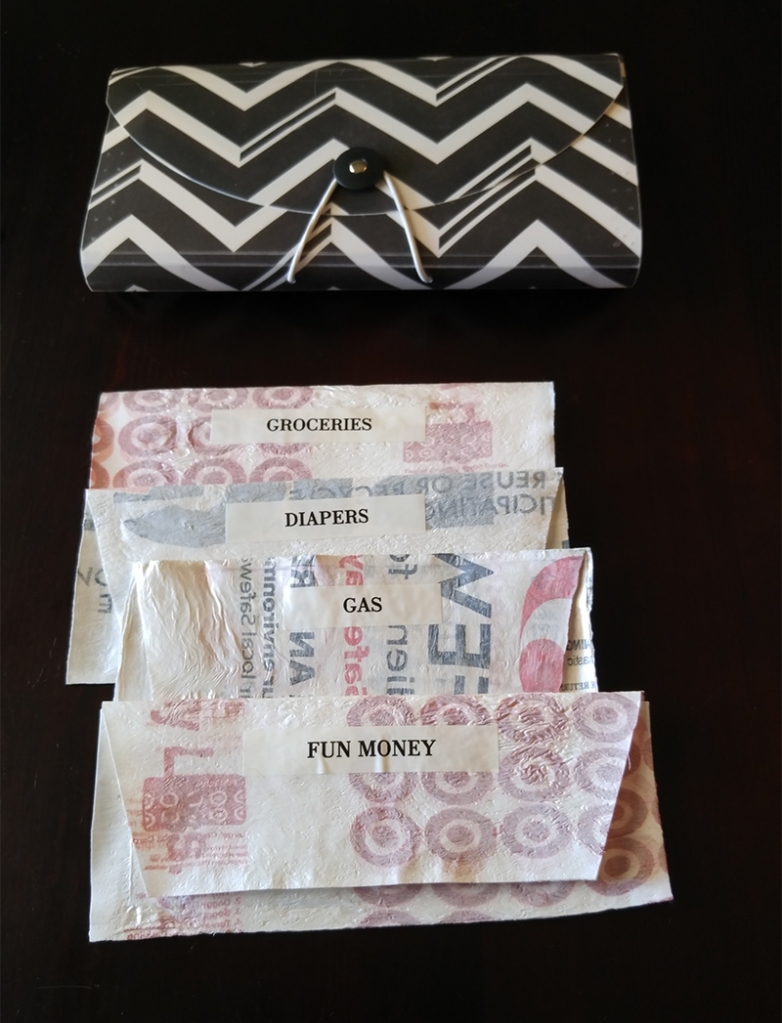
I found this cute organizer in the Dollar Spot area in Target a while back. It’s the perfect thing to keep all my cash envelopes in! On my envelopes I trimmed them once everything was all fused together (which you can do too) just make sure that once you trim them the edges are not coming apart.. if so you need to iron them a little more.
I also made diagonal cuts in the folded over envelope part because I thought it looked a little nicer!
And there you have it! A simple envelope. You can customize as you like! I would love to see the variations that you come up with! There are so many ideas I have for more fused plastic projects. For instance I have seen that people do reusable sandwich bags, or even bigger grocery bags.
I want to do a picnic blanket liner! I think that would be neat. Something you can lay UNDER your picnic blanket so that your actual one doesn’t get wet! Fun stuff!
I hope you liked this project! If you have any questions or things to add, please do let me know!
Happy plastic fusing!!

[…] can also check out my Fused Plastic Bag post from last year if you are looking for something else that’s fun to do with […]
LikeLike
So clever! And, so well explained.
LikeLike
What a great idea. I can see a bunch of uses for fuses plastic bags. And I think I have about as many as you do in my house.
LikeLiked by 1 person
What an interesting post and a very clear tutorial, thanks!
LikeLiked by 1 person
And it’s really addicting! Trying to think of what to do next. 🙂
LikeLiked by 1 person